
Category: Road Not Taken
-
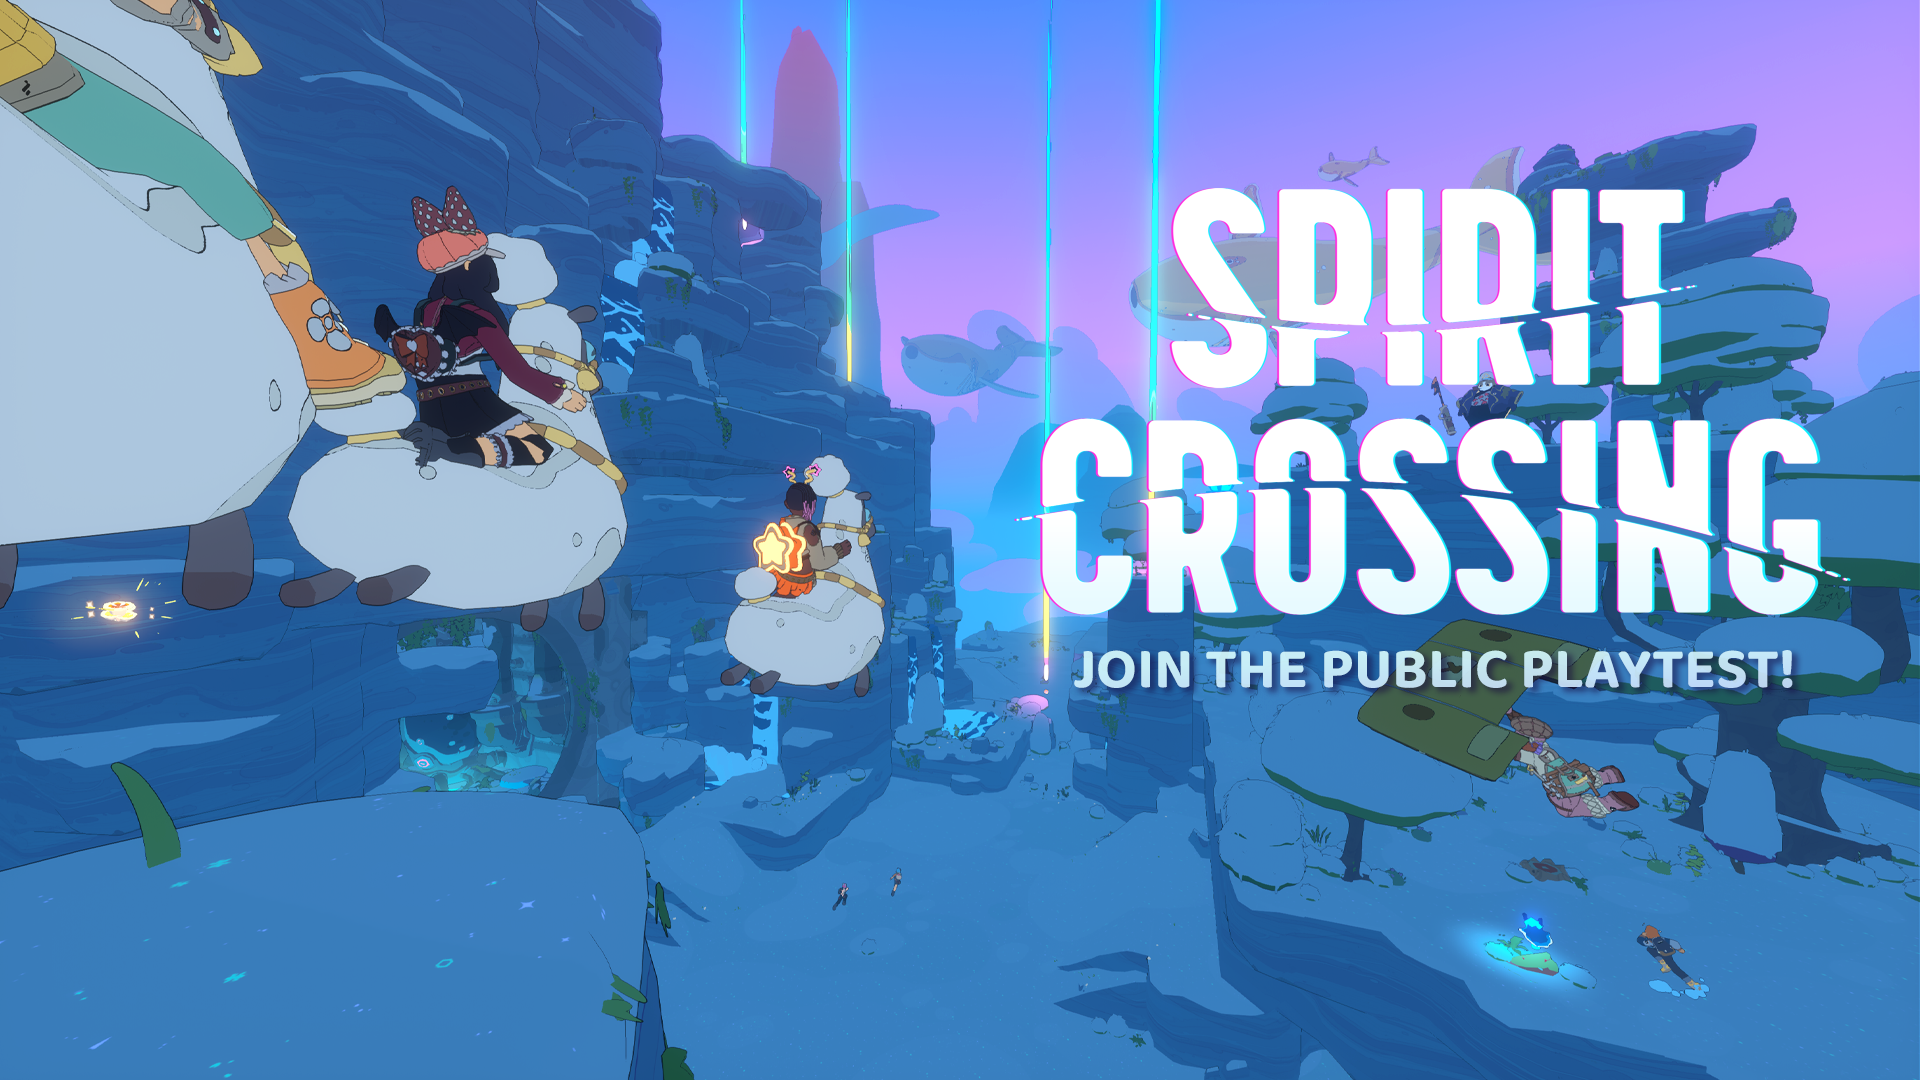
In case you didn’t catch our big announcement during this year’s Wholesome Direct livestream, we are thrilled to share that Spirit Crossing’s playtest on PC is now available to everyone, for free! Check out the new trailer below. ↓ First of all, we would like to thank our amazing playtesting community for providing us with…
-
As you may recall from previous posts, one of our top development goals for Spirit Crossing is to reduce loneliness in the world. We truly believe that this is one of the most important and wonderful things that games can do for players. To accomplish this goal, we need to do everything we can to…
-

Greetings, wanderers! As mentioned in the previous #fox-thoughts, the 15.0 update set the groundwork for a lot of features and improvements we will be introducing with this update. Check the patch notes below to learn more! Dyes Shops Friendship with Crosslanders Resources Collections Crafting and Building Home Prestige WaystationS ART, UI Quality of Life Improvements…
-
Greetings, wanderers! The 15.0 update brings the much anticipated Housing Update we went over in a previous Developer Blog, as well as some meaningful changes to Beacon Energy, potted plants, waystation overgrowth charms, new percentage-base tournament rewards and a complete shop overhaul in the Village Center! Check out the details below. Big Housing Update 🏡…
-

Friendship Changes This update brings some changes to Friendships in order to improve how you connect and interact with other players, as well as some quality of life improvements to Friend Gems. If you want to read more about it, please check out our Developer Blog post! Reminder: If you ever find someone acting against…
-
The 14.9 update is FILLED to the brim with exciting new changes and we’re happy to share that we have more things planned for friendship rewards and Gems. Proximity Chat What’s that saying… With open chat comes great responsibility? The 14.9 update will introduce a big change to unlocking the Proximity Chat with others. Now,…
-
Note: This is part two! See here if you’d like to read the first part, which more generally goes over the process of balancing an in-game economy in a multiplayer live-service game pre and post-Netflix spinout! Goodness. So.. who’s that sweet little pachyderm in the corner? Ah yes, the economic survival of our studio! An…
-
We wanted to give you a heads up about some upcoming Equipment Progression changes the team has been working on that will be introduced with the release of 14.9. Now, instead of just enhancements, you’ll also be able to upgrade your equipment level in a Forge for better rewards when harvesting or collecting resources. There…
-
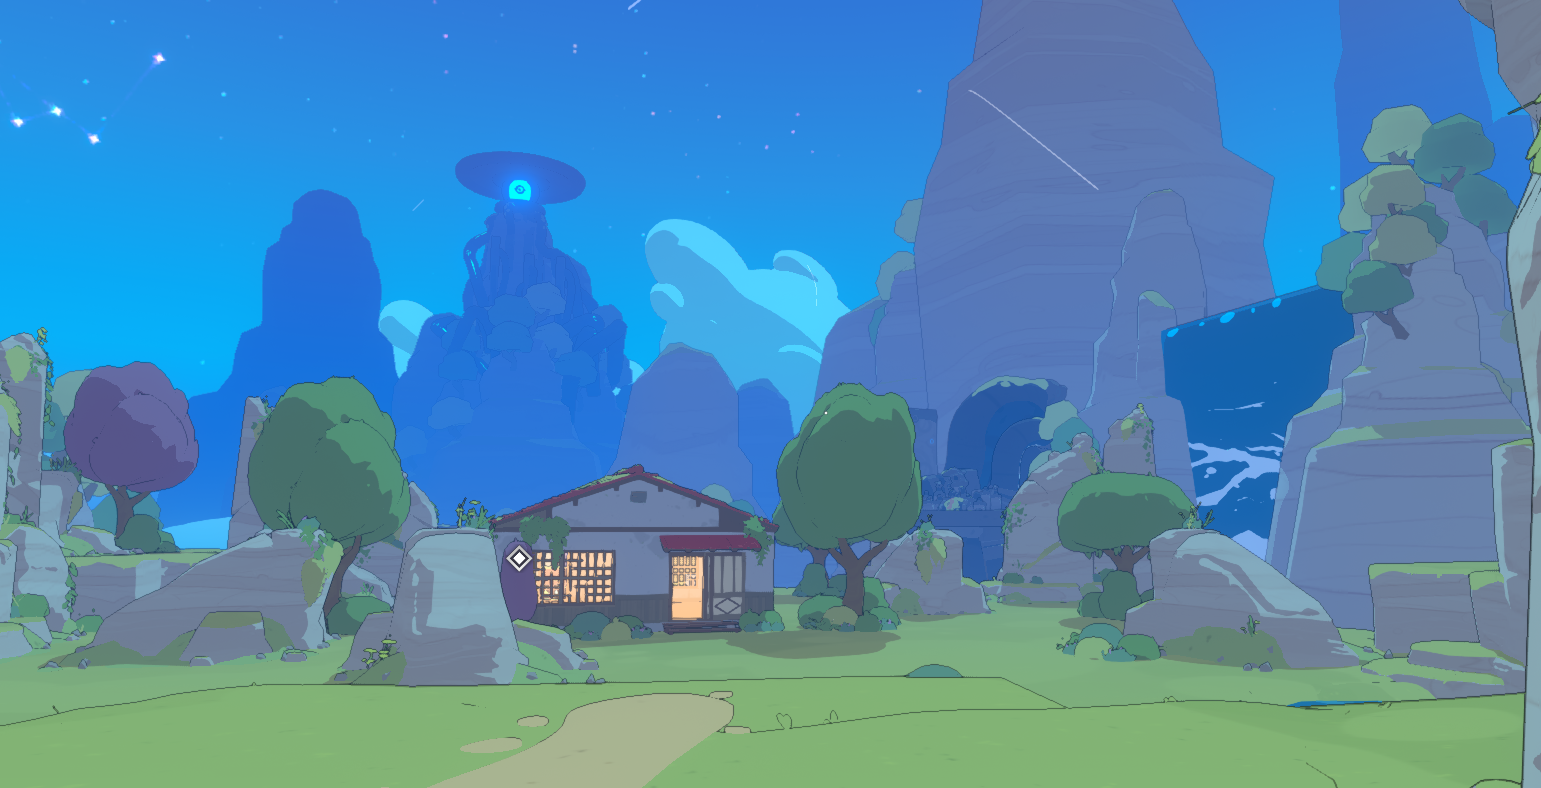
Greetings, wanderers! If you’ve been in our Alpha testing for a while, you’ve probably noticed that not a lot has changed with the player housing since the start of Alpha. And although Roomie’s little apartment – and later yours – has its cozy aspects, it’s never been intended as our final answer to Spirit Crossing’s…
-
We wanted to pull back the curtain on the state of the game economy in Spirit Crossing, how we got here and some things we are looking at in the future. We really appreciate everyone who has put a lot of thought and consideration into playing Spirit Crossing and giving feedback on it in its…
